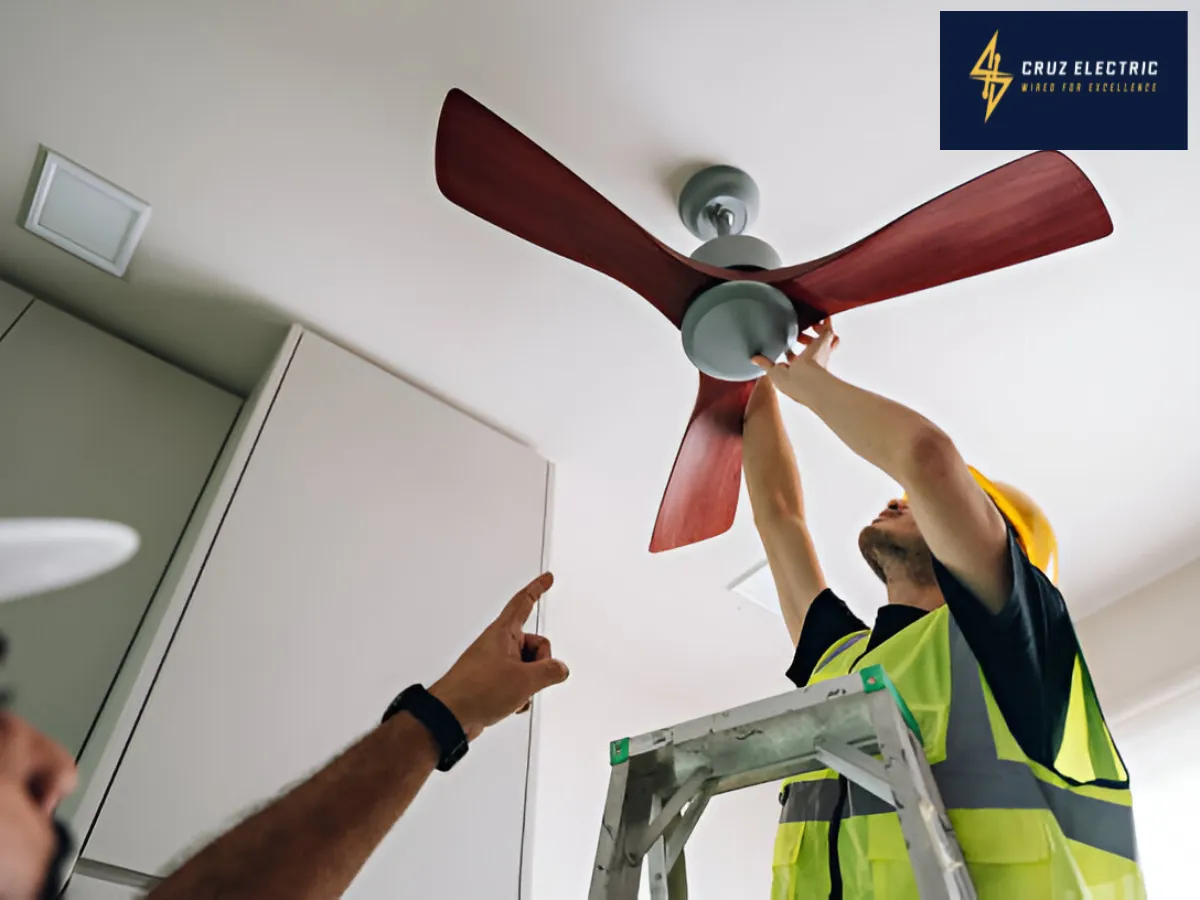
How to Install a Ceiling Fan Safely: A Homeowner’s Guide
Thinking about how to install a ceiling fan? You're in good company. Swapping out that old light fixture for a new fan is one of the most satisfying (and cooling!) home upgrades you can do without calling in the pros. But let’s be real—it can feel a bit intimidating if you’ve never done electrical work before. That’s why we’ve put together this friendly, no-fluff guide to walk you through it step-by-step.
Whether you're aiming to boost airflow, cut down your energy bills, or just want to make your space look a little more polished, we’ve got you covered. Let's dive into the simple steps to install a ceiling fan safely and effectively.
Unlock the Secret to Safe Ceiling Fan Installation in Just 7 Steps!
Learn how to safely install a ceiling fan by following these 7 easy, easy-to-follow steps for a safe setup. Here are the details.
Step 1: Turn Off the Power
This one’s a no-brainer, but it’s also non-negotiable. Head over to your circuit breaker and shut off the power to the room where you’ll install a ceiling fan. Use a voltage tester to make double sure no current is flowing.
Why risk it? Electricity isn’t something to mess around with.
Step 2: Remove the Old Fixture
Carefully take down your old light fixture. You’ll want to:
Unscrew the fixture cover
Disconnect the wires
Remove the electrical box if it’s not fan-rated
If your existing box isn’t sturdy enough, now’s the time to upgrade to a ceiling fan mounting brace or a ceiling fan brace.
NLP Tip: Look for a metal box that’s UL-rated for ceiling fans—it’s stronger and safer.
Step 3: Install a Ceiling Fan Mounting Bracket
Now we’re getting to the heart of it. Secure the mounting bracket to the ceiling fan brace. This part holds the fan in place, so make sure it’s snug and secure.
Follow your ceiling fan installation diagram
Use lag screws if mounting to a ceiling joist
If not, use a fan brace that spans the joists
This step is often skipped, and it’s where things can go very wrong. You don’t want a fan wobbling or crashing down.
Step 4: Connect the Wiring
Alright, now it’s time to wire it up. This is the step where many folks ask, “How do you install a ceiling fan without zapping yourself?” The answer is: take your time and follow the diagram.
Most modern fans come with clear wiring instructions. But here’s a quick overview:
Black wire = fan power
Blue wire = light kit
White wire = neutral
Green or bare wire = ground
Twist like-colored wires together and secure with wire nuts. Check your ceiling fan wiring diagram or a 4-wire ceiling fan wiring diagram if your fan has a light.
Step 5: Attach the Fan Motor
Once the wiring is all done, attach the fan motor to the mounting bracket. You might need a buddy for this part—it’s not super heavy, but awkward to hold while wiring.
Follow your manual’s ceiling fan installation steps exactly to make sure everything clicks into place.
Step 6: Install the Blades and Light Kit
Now that the motor’s in place, attach the blades. Most fan kits have pre-drilled holes, so it’s pretty straightforward. Tighten the screws securely so you don’t hear any clicking or rattling later.
Next, install the light kit if your fan includes one. Hook up the remaining wires as shown in your ceiling fan connection diagram.
Step 7: Test Everything
Once it’s all assembled, turn the power back on and test your fan. Try the fan on all speeds, and test the light switch if you installed a combo kit. Watch for any wobbling—if it shakes, you may need to adjust the bracing or balance the blades.
And voilà—you now know how to install a ceiling fan like a pro.
Why Install a Ceiling Fan?
Before we get into the how, let’s talk about the why. Ceiling fans are more than just a summer essential. They can:
Improve energy efficiency
Enhance room aesthetics
Provide better light and air circulation
Cut down on HVAC usage
And when you install a ceiling fan properly, it can last for years with minimal maintenance.
Tools and Materials You’ll Need
Grab these before you start:
Ceiling fan kit
Screwdriver (Phillips and flathead)
Voltage tester
Wire strippers
Pliers
Ladder or step stool
Drill and drill bits
Electrical box rated for ceiling fans (very important!)
Ceiling fan mounting brace or ceiling fan brace
Got everything? Great! Now let’s get to work.
When to Call an Electrician
If your ceiling has no existing fixture or you’re unsure about the wiring, don’t guess. That’s when it’s smart to call in a pro.
At Cruz Electric, we help with lighting, panel upgrades, and EV car charger installations. We also do ceiling fan installs, wiring fixes, and other home electrical work.
Need a hand? Contact us today or explore our full range of Commercial Services too.
Bonus Tips for a Smooth Install
Use a balancing kit if your fan wobbles
Double-check all connections with a voltage tester
Read the entire manual before starting
Label your wires before disconnecting the old fixture
And if you’re more of a visual learner, check out this great step-by-step guide from WikiHow.
Final Thoughts
Installing a ceiling fan isn’t rocket science, but it does take some prep, the right tools, and a careful approach. Now that you know how to install a ceiling fan safely, you can beat the heat and add a fresh new vibe to your space.
And hey, if you’d rather leave it to the experts, no judgment. Cruz Electric is here to help you upgrade your space safely and stylishly.